
You open the fridge, something falls out, and you still can’t find what you’re looking for. Sound familiar?
Learning how to organize your fridge doesn’t require a full weekend or an expensive haul — it just needs a system. Set up the right zones, add a few clear bins, and label everything, and your fridge stops reverting to chaos every few days.
Here’s exactly how to do it, step by step.
How to organize your fridge?
As commentend in the introduction of this article we will explain it step by step. You will get a six step guide how to organize your fridge with afterwords some tips and tricks. Any questions? Don’t worry we made a little FAQ for you with question related to this article.
Step 1: Empty the Fridge Completely
What do to: First of all, take everything out — yes, everything — and wipe down every shelf with a damp cloth or all-purpose cleaner.
Why: You can’t build zones around food you can’t see, and organizing on top of old spills just seals in bacteria and odors instead of solving anything.
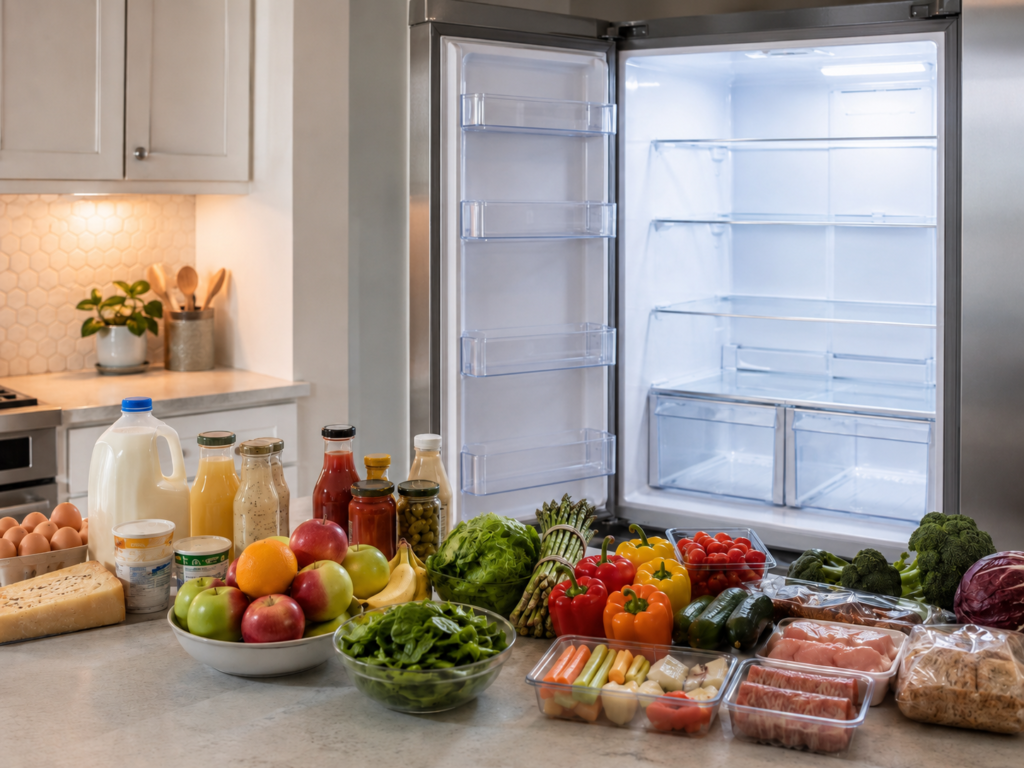
While everything’s out, group items by category on the counter: condiments, dairy, leftovers, produce, drinks, raw meat. That grouping is the foundation for step 2.
Step 2: Set Up Your Fridge Zones
What to do: Assign a fixed area to each food category instead of putting things wherever there’s space.
Why: Once everyone in the household knows where things belong, the system maintains itself — no more re-sorting every week.
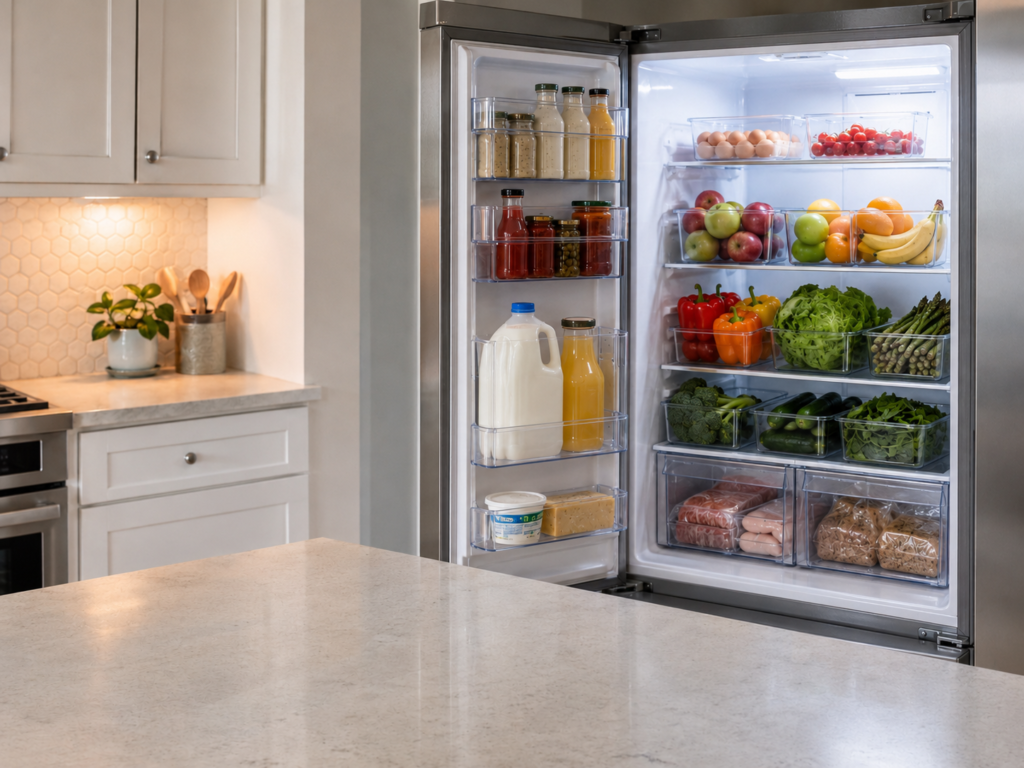
| Zone | What Goes There | Why |
|---|---|---|
| Top shelf | Leftovers, ready-to-eat meals, drinks | Stable temperature, eye-level = used first |
| Middle shelf | Dairy, eggs, meal prep containers | Consistent cold, easy access |
| Bottom shelf | Raw meat, fish | Coldest zone, prevents drips contaminating other food |
| Crisper drawers | Vegetables (high humidity), fruits (low humidity) | Keeps produce fresh longer |
| Door | Condiments, sauces, butter | Warmest zone — never store milk or eggs here |
Even a rough zone system beats no system at all.
Step 3: Add Clear Bins to Every Zone
What to do: Give each zone a dedicated bin instead of letting items sit loose on the shelf.
Why: Loose items drift within days and your zones quietly disappear. A bin gives every item a fixed home, and you can pull the whole bin out instead of digging for the soy sauce hiding in the back.
The product that we recommend for this:
ClearSpace Pantry Bins — Clear, stackable, and roomy enough to hold its shape after months of use; one set is usually enough for two to three zones (grab the XL version for taller shelves or larger fridges). Check this product on Amazon and read our full review.
Pro tip: Don’t overfill your bins. A constantly overflowing bin means you need a second one — or you’re overstocking that item, which is one of the biggest reasons fridge systems collapse within weeks.
Step 4: Deal With the Food That Always Gets Lost
What to do: Move leftovers into uniform, stackable containers and switch bacon, deli meat, and bread out of their original packaging into airtight containers.
Why: Leftovers get forgotten because they’re stored in random containers with no label, and opened packaging gets pushed to the back and forgotten until it’s gone bad.
The products that we recommend for this:
Tafura Bacon Container — Keeps bacon fresh longer, stacks cleanly, and takes up a fraction of the space of the original packaging. Check this product on Amazon and read our full review.
Tafura Bread Container — Keeps bread fresh without a bag flopping around loose on a shelf. Check this product on Amazon and read our full review.
Step 5: Label Everything
What to do: Label every bin with the category it holds — “Dairy,” “Leftovers,” “Drinks,” “Sauces,” “Snacks,” “Meal Prep.”
Why: This is the step most people skip, and it’s exactly why their fridge reverts to chaos within two weeks. A label tells everyone in the household where something belongs — no negotiating, no guessing.
The product that we recommend for this:
Label Maker — Takes about five minutes to set up and produces clean, readable labels that stick to bins and shelves without leaving residue. Check this product on Amazon and read our full review.
Step 6: Maintain the System
What: Run a quick weekly reset instead of letting the fridge slowly drift back into clutter.
Why: The hardest part of fridge organization isn’t the setup — it’s the first two weeks of building the habit. A few rules make that easy:
- FIFO rule: first in, first out — move older items to the front when you restock.
- Weekly reset: a 5-minute scan once a week to toss expired items and put things back in their zone.
- Don’t overbuy: an overstuffed fridge defeats any system — if you can’t see it, you won’t use it.
Tips & Tricks
- Go vertical. Stackable bins make better use of a small fridge than spreading items out horizontally.
- Use the door strategically. Most people underuse it — tall bottles, condiments, and butter belong here.
- Don’t forget the outside of the fridge. A magnetic organizer on the side frees up shelf space for things you don’t actually need chilled — spices, snack packets, notes, small utensils — without taking up a single inch inside.
For using the outside of the fridge we recommend this product:
Fridge Organizer — A magnetic organizer that attaches to the side of your fridge for extra storage outside the fridge itself, ideal for spices, small snacks, and everyday items you want within reach. You can find this product here on Amazon and don’t forget to read our full review about this product.
FAQ
What is the best way to organize a fridge?
A zone-based system: assign specific areas to specific food categories, add clear bins to each zone, and label them. Zones stop items from drifting and make the system easy for the whole household to maintain.
How do I stop food from getting lost at the back of the fridge?
Use shallow bins you can pull out entirely instead of deep shelves where items get pushed back. A rotating tray on deep shelves also works — one spin brings everything into view.
How often should I reorganize my fridge?
You shouldn’t need to if zones are maintained. A 5-minute weekly reset is usually enough, with a deeper clean every 4-6 weeks.
What containers are best for fridge organization?
Clear, stackable containers with flat lids and uniform sizing, so you can see what’s inside without opening each one. Airtight containers are worth it for bacon, deli meat, and bread specifically.
Does fridge organization actually save money?
Yes — a visible, organized fridge means you actually use what you buy instead of forgetting it, which cuts food waste and grocery costs.
A well-organized fridge takes less than an hour to set up and pays off every day after. Start with the zones, add a few bins, and label them — the rest takes care of itself.
Looking for visual inspiration how to organize your fridge? Check our Pinterest for kitchen organization ideas.
Browse more finds on our Kitchen Organization page.
